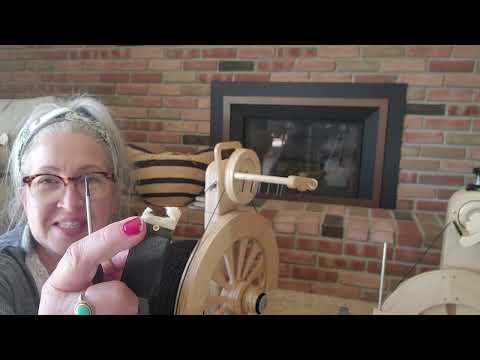
SpinOlution Direct Tension
SpinOlution wheels eliminate the extra cords and springs by applying direct friction to the flyer rod itself. This modern American-made tension system is both efficient and intuitive, giving you smooth, consistent control across all yarn weights. Instead of fussing with brake bands or replacing worn-out springs, you can simply adjust the friction to meet your spinning needs.
What is Direct Tension?
Choosing the right spinning wheel often comes down to how it handles tension - the mechanism that controls yarn uptake onto the bobbin. Traditional spinning wheels use either Scotch tension or Irish tension, both of which rely on strings, springs, and additional parts to regulate pull.
At SpinOlution, we’ve taken a different approach. Our spinning wheels use a state-of-the-art tension system pioneered in America, designed for efficiency, simplicity, and unmatched control.
Traditional Tension Systems
Scotch Tension
In Scotch tension, a light brake band (a string or cord) wraps around the bobbin and attaches to a spring. As you adjust the spring, you increase or decrease the braking force on the bobbin, which changes how quickly yarn is taken up. This system is precise but can feel delicate, and bands or springs often wear out with heavy use.
Irish Tension
Irish tension works the opposite way. The brake band and spring apply pressure to the flyer instead of the bobbin. This creates a much stronger uptake, often preferred for bulky or art yarns. While it provides power, it can sometimes feel less nuanced and harder to fine-tune for finer yarns.
Direct Tension
SpinOlution wheels eliminate the extra cords and springs by applying direct friction to the flyer rod itself. This modern American-made tension system is both efficient and intuitive, giving you smooth, consistent control across all yarn weights. Instead of fussing with brake bands or replacing worn-out springs, you can simply adjust the friction to meet your spinning needs.
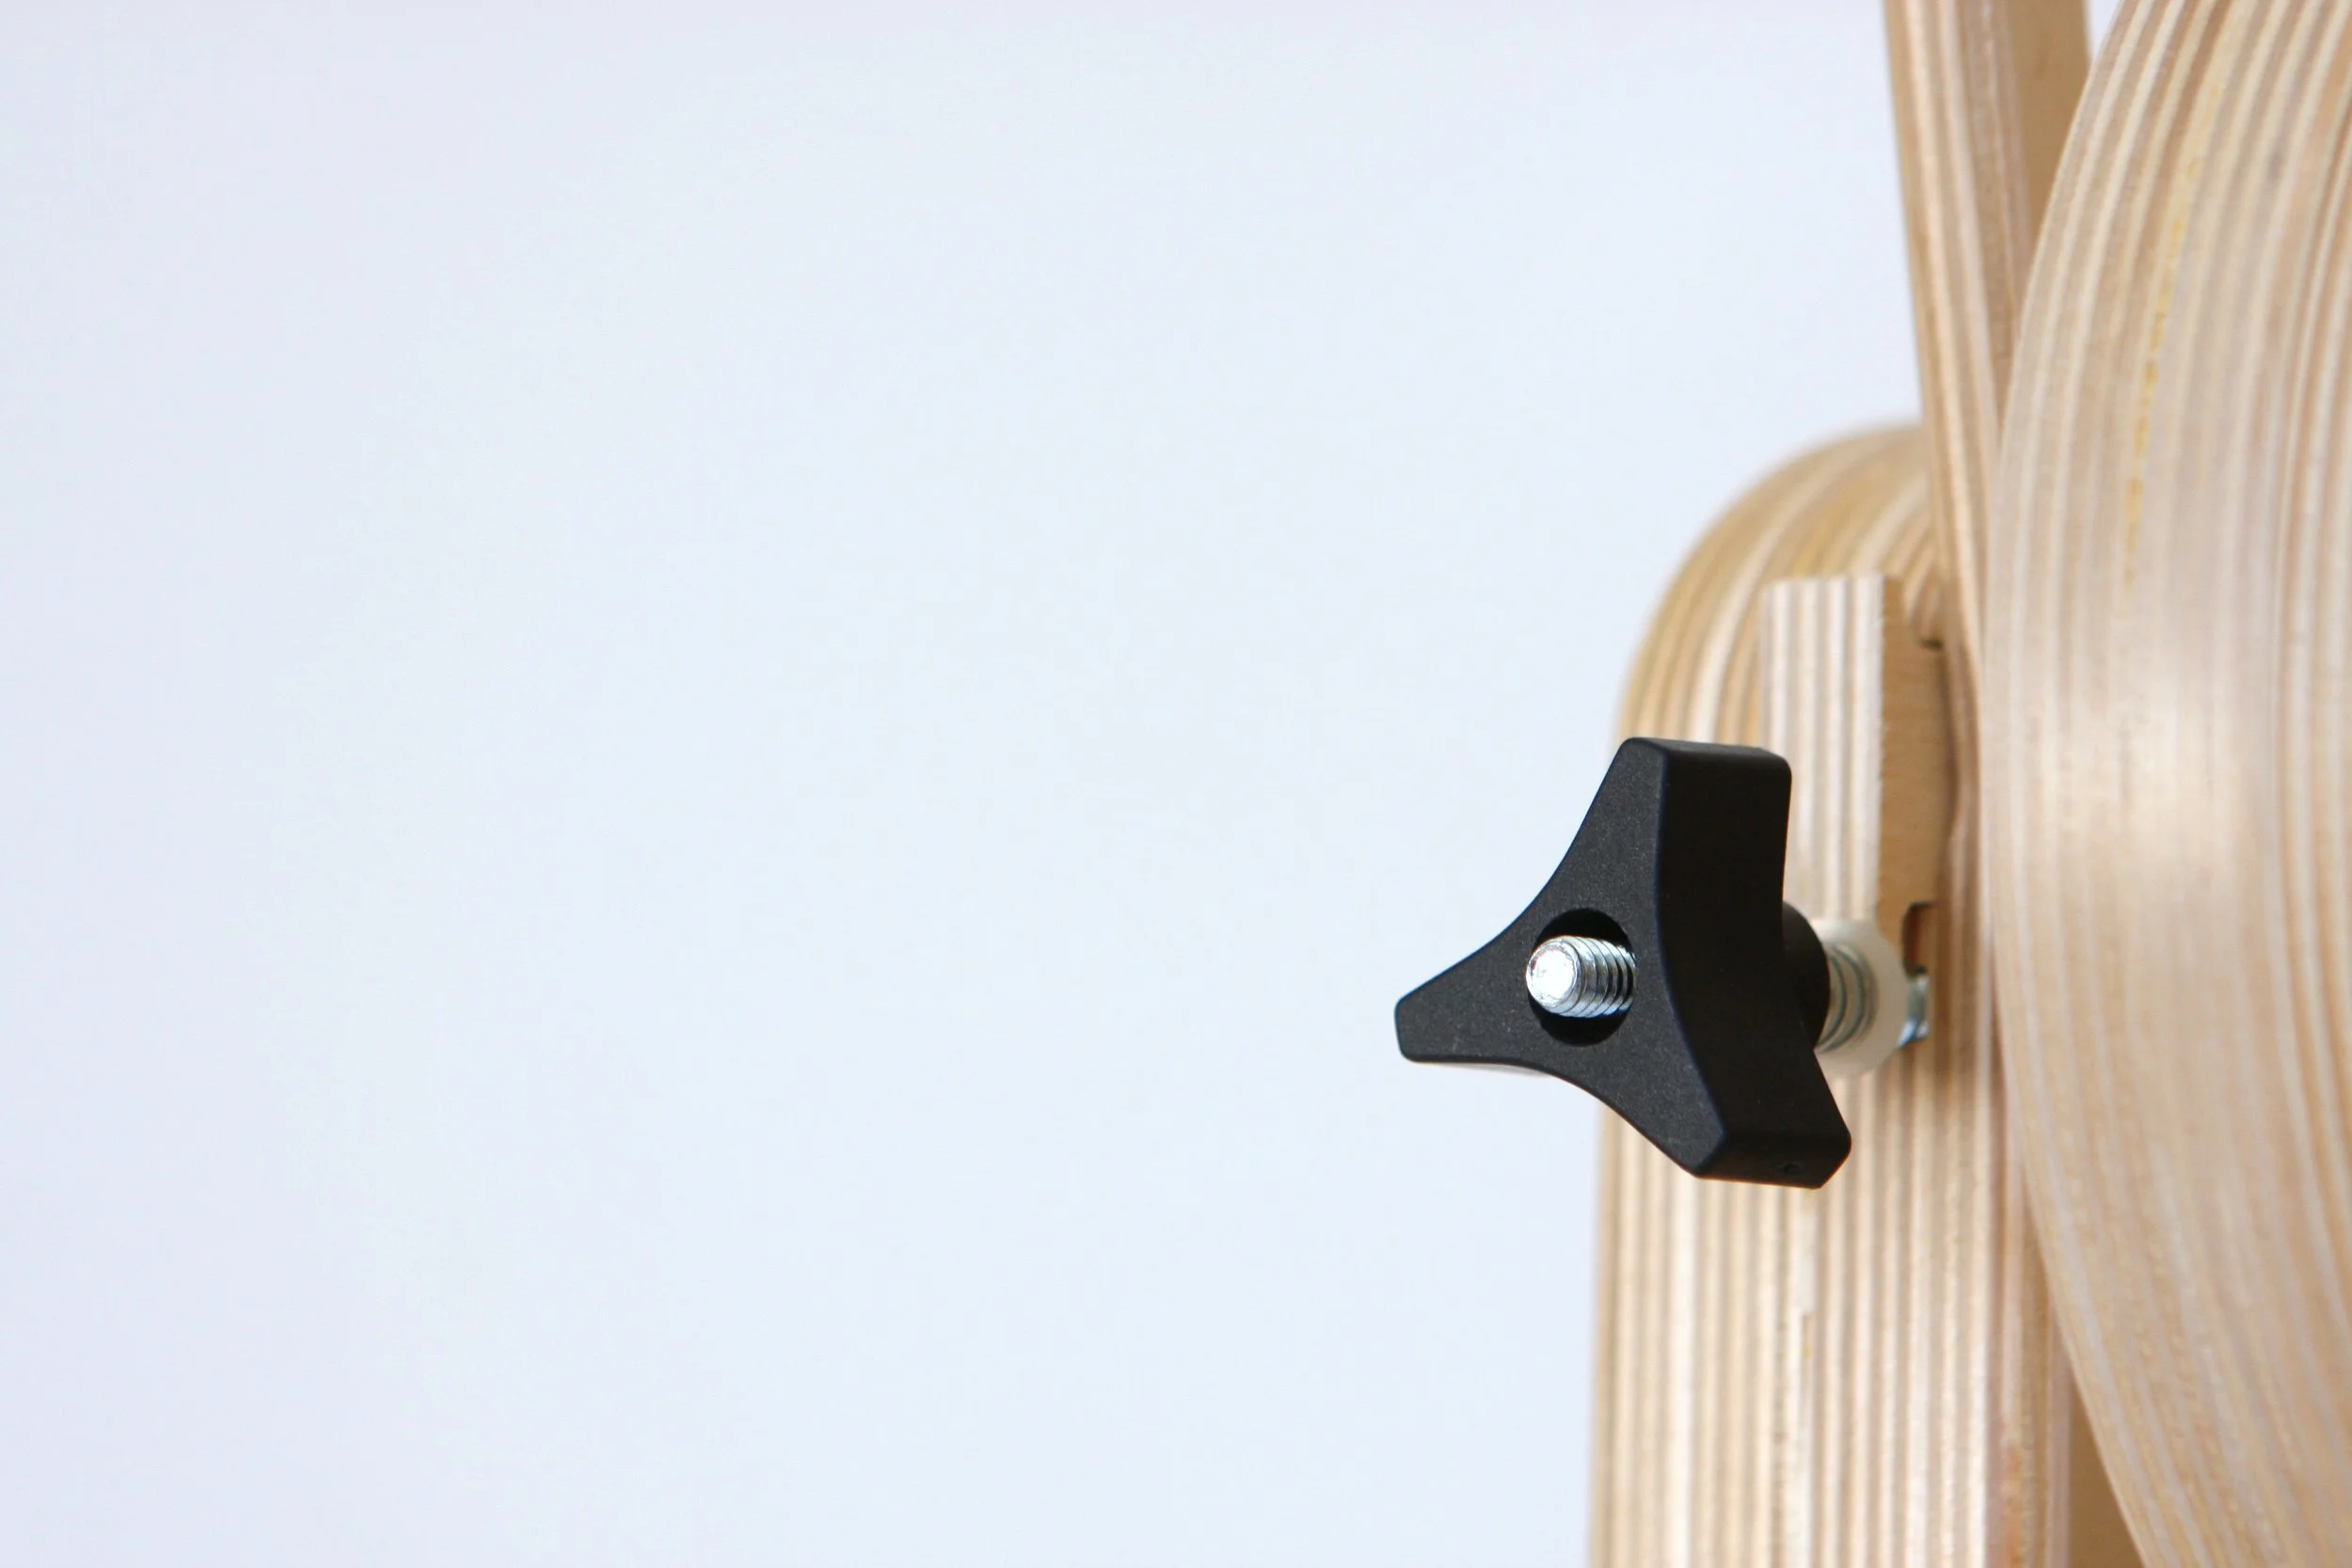
Setting the Tension
Twist the tension knob clockwise until the spring begins to compress.
Ensure the leader is straight and aligned with the orifice hook, guided along the outside pegs.
Adjust tension in small increments (¼ turn at a time) as the bobbin fills, since fuller bobbins reduce braking pressure and increase treadling resistance.
For ultrafine or short-staple fibers, consider removing the tension block entirely for better control.
Increasing Tension (If Yarn Isn't Taking Up)
Turn the tension knob ¼ turn clockwise until the yarn begins to draw in properly.
Check that:
The bobbin is securely locked into the magnet at the back of the flyer.
The magnet is firmly attached to the flyer rod.
The orifice bar is properly locked onto the flyer magnets.
The flyer rod is correctly inserted into the orifice bar.
The yarn hasn’t jumped off pegs, wrapped twice around the hook, or caught on anything.
Decreasing Tension (For Fine Spinning)
Turn the knob counterclockwise in ¼-turn increments, as even small changes matter.
For easier fine spinning:
Use a half-full bobbin.
Lace the yarn 2–3 times across flyer arms to reduce draw-in.
Troubleshooting
Remove and inspect the tension block; replace the felt if worn. Rotate the tension block 180 degrees for better performance.
Make sure the bobbin is securely attached to the magnet
Make sure the orifice bar is in alignment with flyer magnets
Confirm the yarn is not wrapped around hook or a peg.
Avoid pushing yarn onto the bobbin, as this may cause it to wrap around the hook
Always spin directly in front of the orifice, not from an angle
Look for obstructions under the treadles or near the drive wheel.
Make sure the drive band is correctly seated in a flyer whorl.
Tension FAQ Helpdesk Videos